Proper Fish Handling Tips for Fishing in the Boundary Waters
May 28, 2021 11:02 amby Jake Dahlke
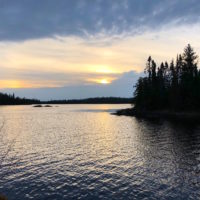
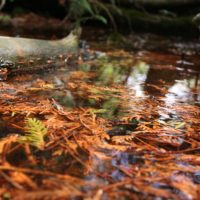
The end of spring and the start of summer is a great time to be an angler in the northland! During this time of year, many species of fish can be found in shallow water as they prepare to spawn. Targeting these fish can be incredibly fun and productive, however, as anglers, we need to be responsible and mindful of our fisheries so that we can protect the resource for years to come. One of the best ways for us to do this is to follow proper fishing handling practices during any catch and release fishing.
Read further below for the process I follow to ensure the healthy release of a fish!
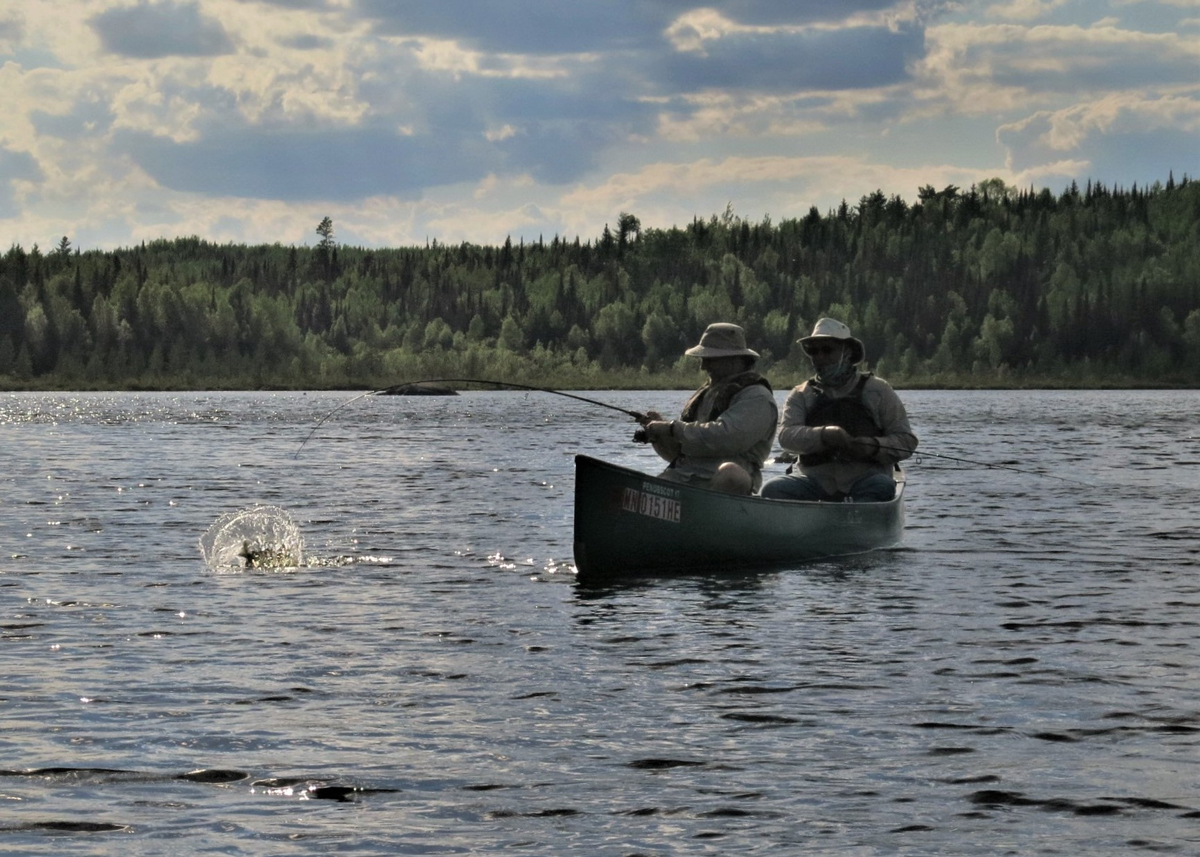
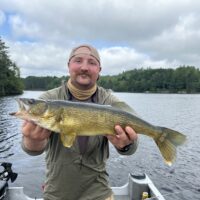
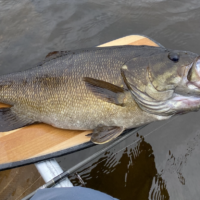
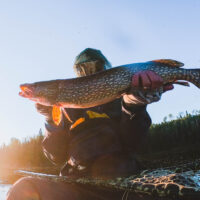
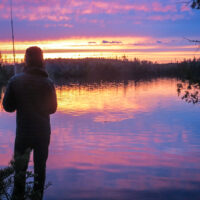
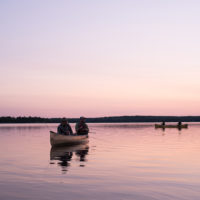
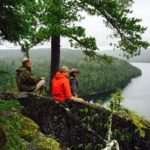
Photo by Sportsmen BWCA Supporter Evan Koch
The Fight
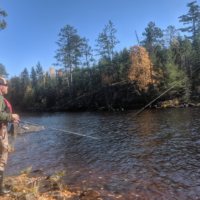
Whether hooked up to a pre-spawn smallmouth bass or a shallow water trout, fighting and landing a fish as efficiently as you can is one of the best things you can do to ensure a healthy release.
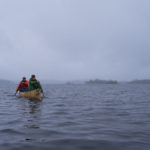
Although it adds extra pack weight during a Boundary Waters trip, I encourage you to bring a net if you plan on catch and release fishing. Trying to land a big fish without a net can be challenging, especially in a canoe. It can also prolong the fight to unnecessary lengths.
I also encourage you to use a net with rubber netting. While this is most common in trout fishing, there are some benefits to using a rubber net that can apply to all types of fishing. If you have ever had to untangle your hooks from the thread of non-rubber netting while a fish flops around in that net, you know what I mean. It’s unsafe for you and prolongs the stress you’re putting on that fish.
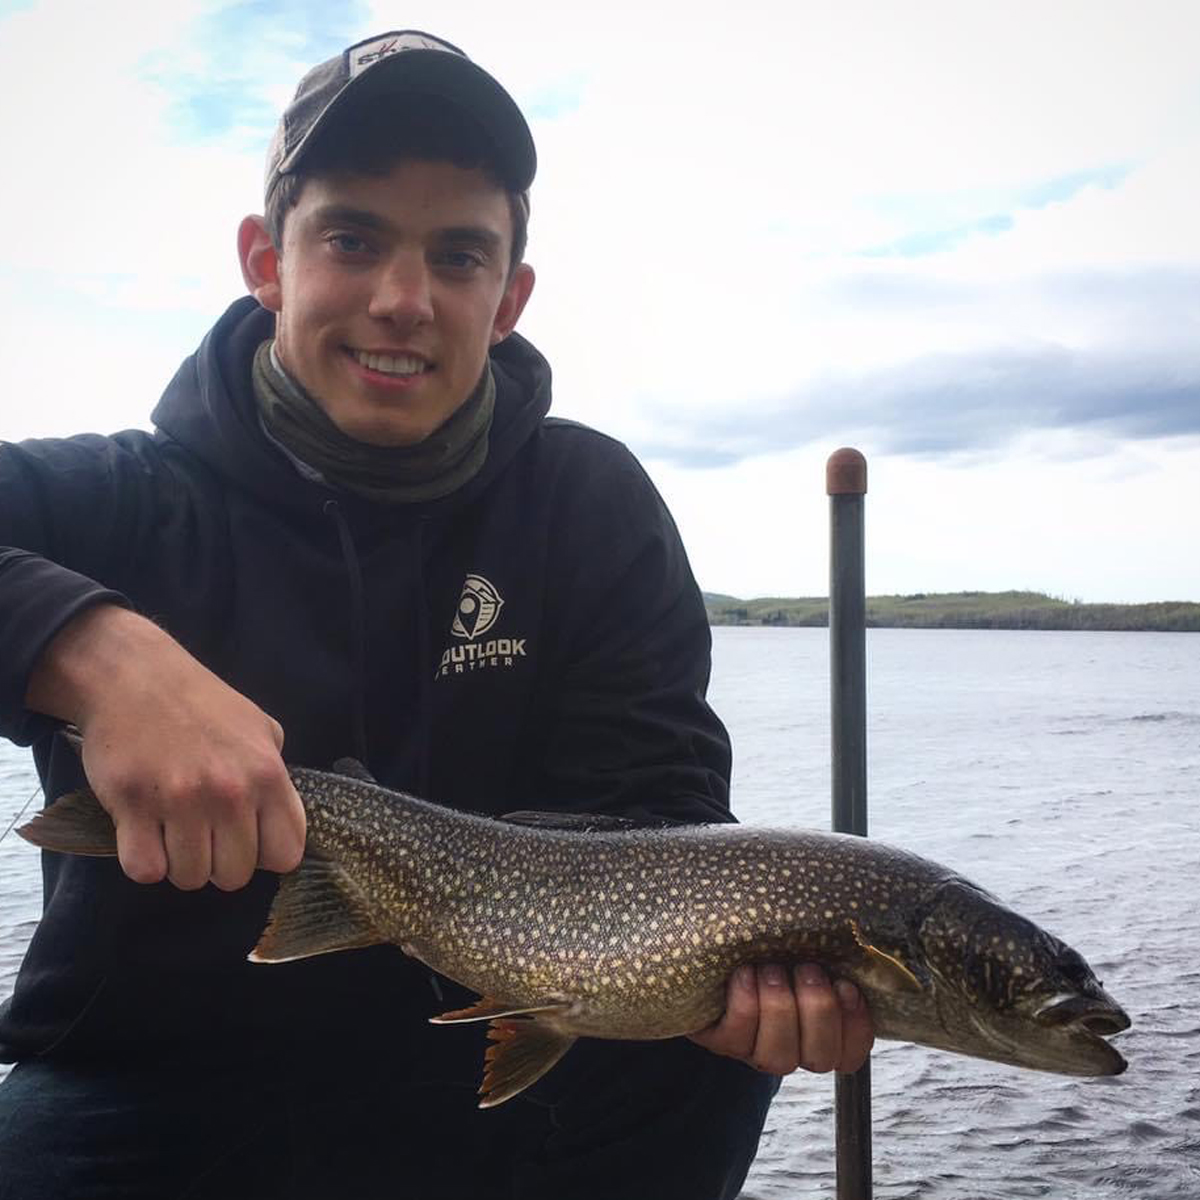
The Photo
In the world of Instagram and Facebook, everyone takes photos with their fish. There is nothing wrong with that, but giving a photo more importance than a fish you plan to release is not the way of a true sportsmen.
Here is my process as soon as the fish hits the net and is unhooked:
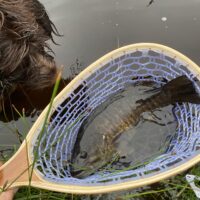
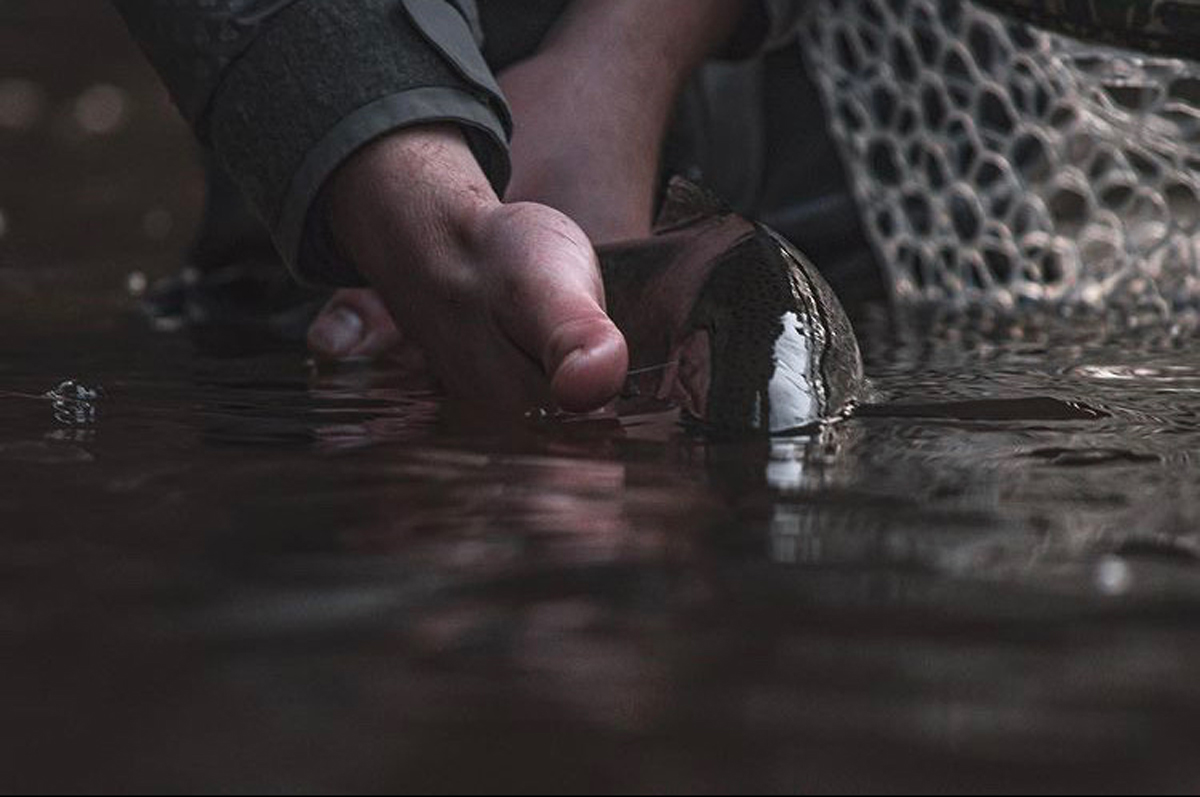
First off, do your best to keep the fish wet until it’s time to take the photo. Hold it in the net in the water or cradle it in the water with your hands if you don’t have a net.
If the person with the camera is shooting with a “real” camera, make sure they have their camera settings set and ready to go before lifting the fish out of the water. This means getting your f-stop, ISO, shutter speed, and camera focus where you want it before raising the fish. If shooting in manual focus, agree before lifting the fish where it is going to be held for the photo. This will make finding the correct focus much easier. You don’t want blurry photos or to be holding that fish out of the water longer than necessary. With a phone, the process is a little easier!
When the photographer is ready, grab a quick photo with the fish still in the water. I call this the safety shot. It doesn’t have to be perfect, but it acts as proof of your catch if the fish flops away during the actual photos!
Once it is time to raise the fish out of the water, stick to the plan! Raise it to the spot you agreed and smile big!
If you’re in a canoe, do your best to raise the fish above the water instead of above the canoe. If you end up accidentally dropping the fish, it’s better for it to flop into the water than the bottom of a hard canoe.
As soon as that fish starts to come out of the water the photographer should start rapid firing! Out of 20 photos, maybe 2 will be keepers.
After a max of 5-10 seconds the fish should be gently brought back down into the water and or net (recommended science-based timing for safe catch and release is 10 seconds).
Immediately following the quick photoshoot it is time for the release. Don’t sit to review photos and make sure you got a good one. If they weren’t perfect, who cares!
When releasing the fish, cradle it gently and make sure it’s ready to kick off before letting it go. Sometimes they need a few seconds to get their bearings before they depart.
The release process is a great time for the photographer to take additional photos if the fish allows it! Depending on how long it takes the fish to kick off, you can get a lot of great up-close photos during this time.
Handling
From the time you land a fish to the time you take photos and release it, the way you handle it is extremely important.
This is perhaps the truest of trout and pre-spawn smallmouth.
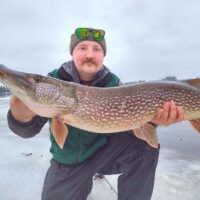
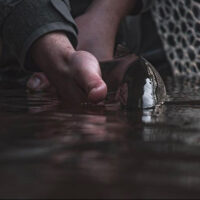
When handling a trout it is never good to stick your fingers in its gills. Even with lake trout, which are very common in the Boundary Waters and one of the toughest trout of them all, fingers in the gills are never good. Plus, it looks terrible in a photo!
The best way you can hold a trout is to firmly grab the base of its tail with your dominant hand and gently cradle underneath the belly just beneath the gills with your other hand. All the power comes from their tail, so if you can get a good grip on that you’re in business. Try to wet your hands before handling the fish. If you are holding a trout in the water in a stream or an area with current, try to face them upstream while you hold them. If their gills are faced downstream, the fish can’t breath properly and you actually run the risk of drowning it.
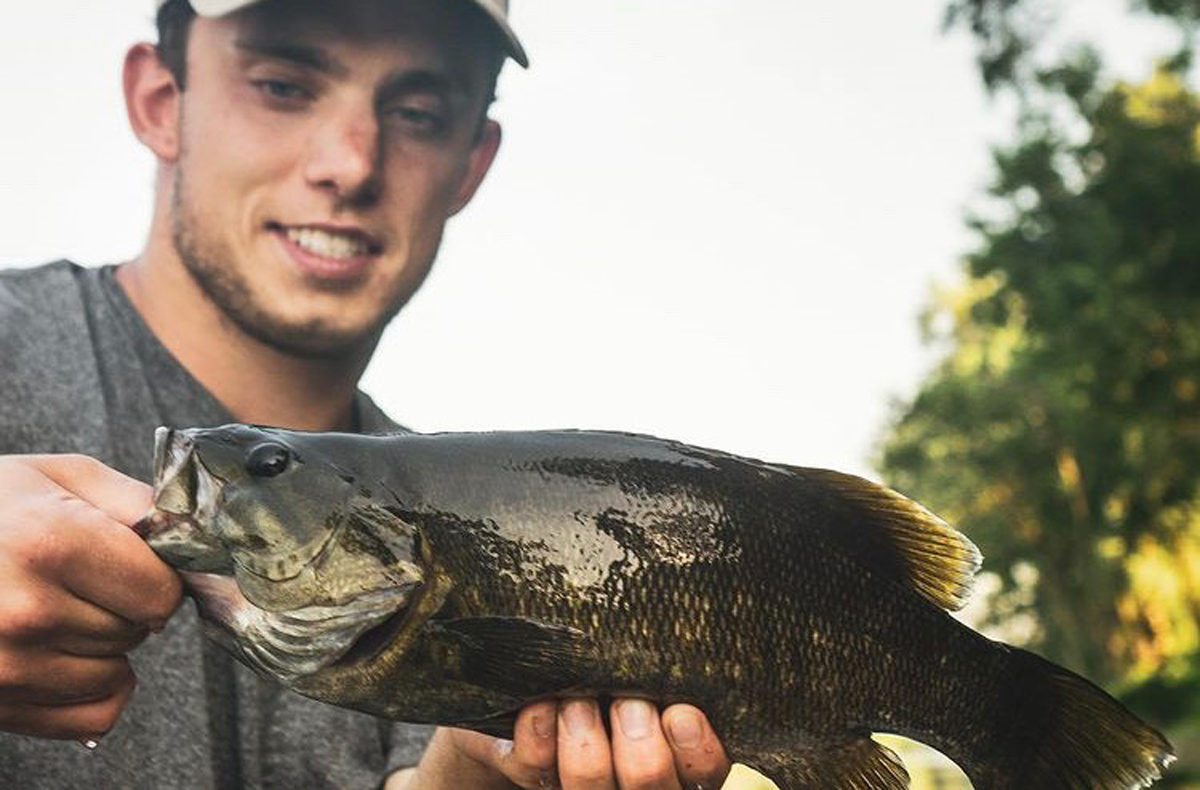
For smallmouth, I recommend grabbing the inside of their lower lip with your non-dominant hand and then gently supporting the base of their tail or belly with the other hand. This takes some of the pressure off of their jaw and lip. At all costs avoid cocking the fish to an angle while holding it by just its lip. If you hold them with one hand, keep them straight up and down.
Proper fish handling is our responsibility as stewards of the resource. Handling fish with care is important no matter what time of year and can make all the difference in preserving the life of a fish that is caught and released. As anglers, we need to keep that in mind and do everything in our power to ensure we get fish back in the water safely to reproduce and preserve the fisheries we love.
Tags: Boundary Waters, boundary waters fishing, boundary waters lake trout, fishing, fishing handling, lake trout, small mouth, spring fishing
Categorised in: Blog, Fishing, Uncategorized